
Simple Sourdough
NOTE: EDITED JUNE, 20th ‘23 - I have changed everything I do and you’ll find all of the updated information in this guide:
I have been feeling ridiculously uncreative lately.
Most days are gone before I even realize they have started and the nights fade-in into one another leaving me with little time to do the things I love. My heart misses music and writing and podcasting and blogging, it really does. But I have to cut myself some slack. In 2022 I worked on healing, I birthed 2 new businesses and a baby. I wept, I healed, I let go of a lot of things and this year, I am not challenging myself to do much more than maintain. Well, maintain plus a few new things, because life would be way too boring if I didn’t try at least a few new things this year.
At the end of 2022 I decided I was going to fully commit to learning how to make sourdough bread. I wanted to weed through all of the research, all of the ways my friends did things and find a way that worked for me.
Now my bread doesn’t have the prettiest designs, the perfect crumb or the biggest ‘ear’, but it’s absolutely delicious and it does the job.
I’ve had quite a few friends reach out asking about what I’m doing, so I thought I would share here in the hope that I wouldn’t have to re-write this more times. I am sure I will be back to update this post because I am still learning too.. as a friend actually said today - “we never stop adapting our bread”. Also, everyone uses their own terms and Farmhouse on Boone has an amazing blog post that gives you all of the definitions. This post though, it could be considered ‘Sourdough for Dummies’ because I am not getting fancy and I am just sharing what has worked for me in the simple terms I wish someone had used to explain it all to me.

the Starter
I actually made my starter from scratch. If you can get it from a friend or a local, it will be easier and faster. Typically people will just have you trade them a jar because it is literally just flour and water that they would’ve discarded anyways. You’ll want to find out what type of flour they’ve been using to feed their starter and what hydration they’ve been feeding it at. I personally do 1/3 cup of bread flour and 1/4 cup of filtered water to maintain mine. I feed mine weekly, let it double and then seal it and put it in the fridge to bake a week from then. I repeat this weekly, even if I’m not baking to keep my starter thriving and healthy.
If you’re like me and you’ve decided that you are going to make your own starter, make sure that you do it at a convenient time of a day and at a time where you will be home for, let’s say, 12 days in a row. Yes, seriously, mine took that many days. Dustin has taken to calling it our “3rd child” (that he didn’t ask for).
If you are a visual learner and you’re on TikTok, you can go ahead and watch this playlist of videos and watch how she made her starter. I actually wrote out the recipe and simplified it, because she confused me a bit.
SUPPLIES:
Ball Jars (2-3 quart jars)
Rubber bands
Paper Towel or Dish Cloths
Organic Unbleached All Purpose Flour
Organic Bread Flour (I use the King Arthur brand)
Organic Whole Wheat Flour
Filtered Water (It has to be filtered or distilled, all of the crap in tap water will kill the starter- which just goes to show that you shouldn’t drink it that way either.)
Rice flour for dusting
INSTRUCTIONS:
Start with a clean ball jar, stir your flour and water together well with spatula, lightly cover with a paper towel and rubber band and keep in a warm place. Place another rubber band at the top line of the starter so you can watch it double. The first few days it will smell weird and may get a liquid on top (hooch), just stir it in and keep on.
Everytime you go to feed, eyeball it and discard half and then feed it.
Throw away the discard while you’re starting the process of making your starter because it’s not going to be good. After your starter is good and active, anytime you go to discard, put it in a jar in your fridge to use for discard recipes. I make pancakes, pizza, cookies, scones- literally anything.
Schedule to start the starter:
Day 1 - 1/2 cup water and 1/2 cup flour
Day 2 - discard half and add 1/2 cup flour and water and place a rubber band to track the growth
Day 3 - discard half again and 1/2 cup flour and water and rubber band
Day 4 - discard half again and 1/2 cup flour and water and rubber band
Day 5 - discard half and add 1/2 cup flour and water and rubber band
Day 6 - 2 FEEDINGS - discard half and add 1/2 cup flour and water and rubber band, 12 hours later, discard half and add 1/2 cup flour and water.
You can change out the starter into a new jar every few days as the jar gets gross and crusty pretty fast.
If after day 6-10 it’s still not doubling, take 3 tablespoons and put it in a fresh jar, add 1/3 cup of bread flour and 1/4 cup of water and it should double almost immediately. Repeat with the new measurements for a few more days or until it is doubling. After its doubling consistently, bubbly and smells like yeast/beer/really good- it’s ready. You can also do a test where you drop a teaspoon in water and if it floats, it’s ready, if it’s not it’s past the peak (around 12 hours) or it’s not strong enough, keep feeding daily until you get to that point. Here is another great article that will help you determine if your starter is ready to bake with.
NOTE: If you don’t put your starter in the fridge sealed, it will go bad faster. It can most likely be revitalized, but just keep that in mind. Don’t seal it right away, it needs oxygen, which is why I usually let it double (get to its peak) first and then put it in the fridge. Also note if you leave it out past the peak to about 24 hours, it needs to be re-fed. That is why if you keep it on the counter it is much more high maintenance than if you keep it in the fridge. The cold air slows the process down.
ANOTHER NOTE: The temperature of your kitchen is going to play a huge factor into how fast your starter is ready and as to how fast your bread proofs once you make it. In the winter it could take about 8-12 hours for your starter to be at peak, in the summer 4-6 hours because it thrives in the warmth.
the Bread
I use the Farm House on Boone recipe, but I have adapted the temperatures a bit because I just think my oven gets way too hot at the temps she suggested and my bread always burns or gets too hard if I follow her instructions. I will say, I’ve tried other recipes and this one is just so good and it aligns with similar recipes from my friends who have also experimented. This flour combo is perfect- I’ve tried other recipes with just AP & Bread flour and I truly believe the little bit of Whole Wheat Flour makes it.
EDIT: In my guide below, I have altered Lisa’s recipe to work a bit better for me and I include a few other tips. It is derived from Lisa’s recipe and I don’t own any copyright nor am I asking for any money or even an email for said guide.


She lays out a nice baking schedule, but she feeds her starter in the morning. With this time table, you’re not left a lot of room for error (or children), so I’ve adapted it to fit my life and my kitchen temp better. I expect this to change this summer when it is warmer and my starter will double faster. I also don’t use a leaven, I use my starter directly as I have found my leaven isn’t ready in time and as long as I feed my starter enough before I bake, I have enough to bake with and to use to keep my starter going. When you do it like this, your “discard” is what you’re using to feed your bread. My ratio is 1:5:5 overnight - 20g of starter, 50g of WW, 50g of AP, 100g of distilled water- this works well for me. If I’m making one loaf I keep those measurements, if I am making two I double that, with the same 1:5:5 ratio- just 40g of water, 200g total of flour and 200g of water. Once I take out my 100-200 grams of starter, depending on if I am making one or two loaves, I am left with enough to get my starter going again (I do my maintenance at 1:2:2 - 20g of starter, 40g total of flour (half AP/half WW) and 40g of water. I add my measurements to a clean jar, discard any remaining into my discard jar, let it double and then put it in the fridge until the following week. I also keep 2 jars of my starter going- remember, just add your ratio of water, starter and flour to a new jar and you’re good to go. Don’t consider it discard until it makes it into your discard jar and into the fridge, that is an easy way to think about it. Anyways, I maintain two jars so that I have enough to utilize it without creating a separate leaven that may or may not work. This way, it’s always ready and I have enough to bake several items at a time. For instance, last week I made focaccia and it was the best thing I have actually ever tasted and it was SO easy. I did adapt that recipe too, maybe that can be another post.
Anyways, back to my schedule. (THIS HAS BEEN UPDATED SINCE THE ORIGINAL POST)
DAY #1 - SUNDAY
BETWEEN 8-10 PM (BEFORE BED)
Take out your starter jar(s), take the lid off, cover with a paper towel or half of the ball jar top and set on the counter overnight.
DAY #2 - MONDAY
UPON WAKING (8 AM)
Take out a clean jar and start your new starter jar with the ratio of 1:2:2 this will be ready by the end of the day.
BEFORE BED (8 PM)
Take our a clean jar and feed your starter with the ratio of 1:5:5 this will be ready in the morning.
DAY #3 - TUESDAY
UPON WAKING 8 AM
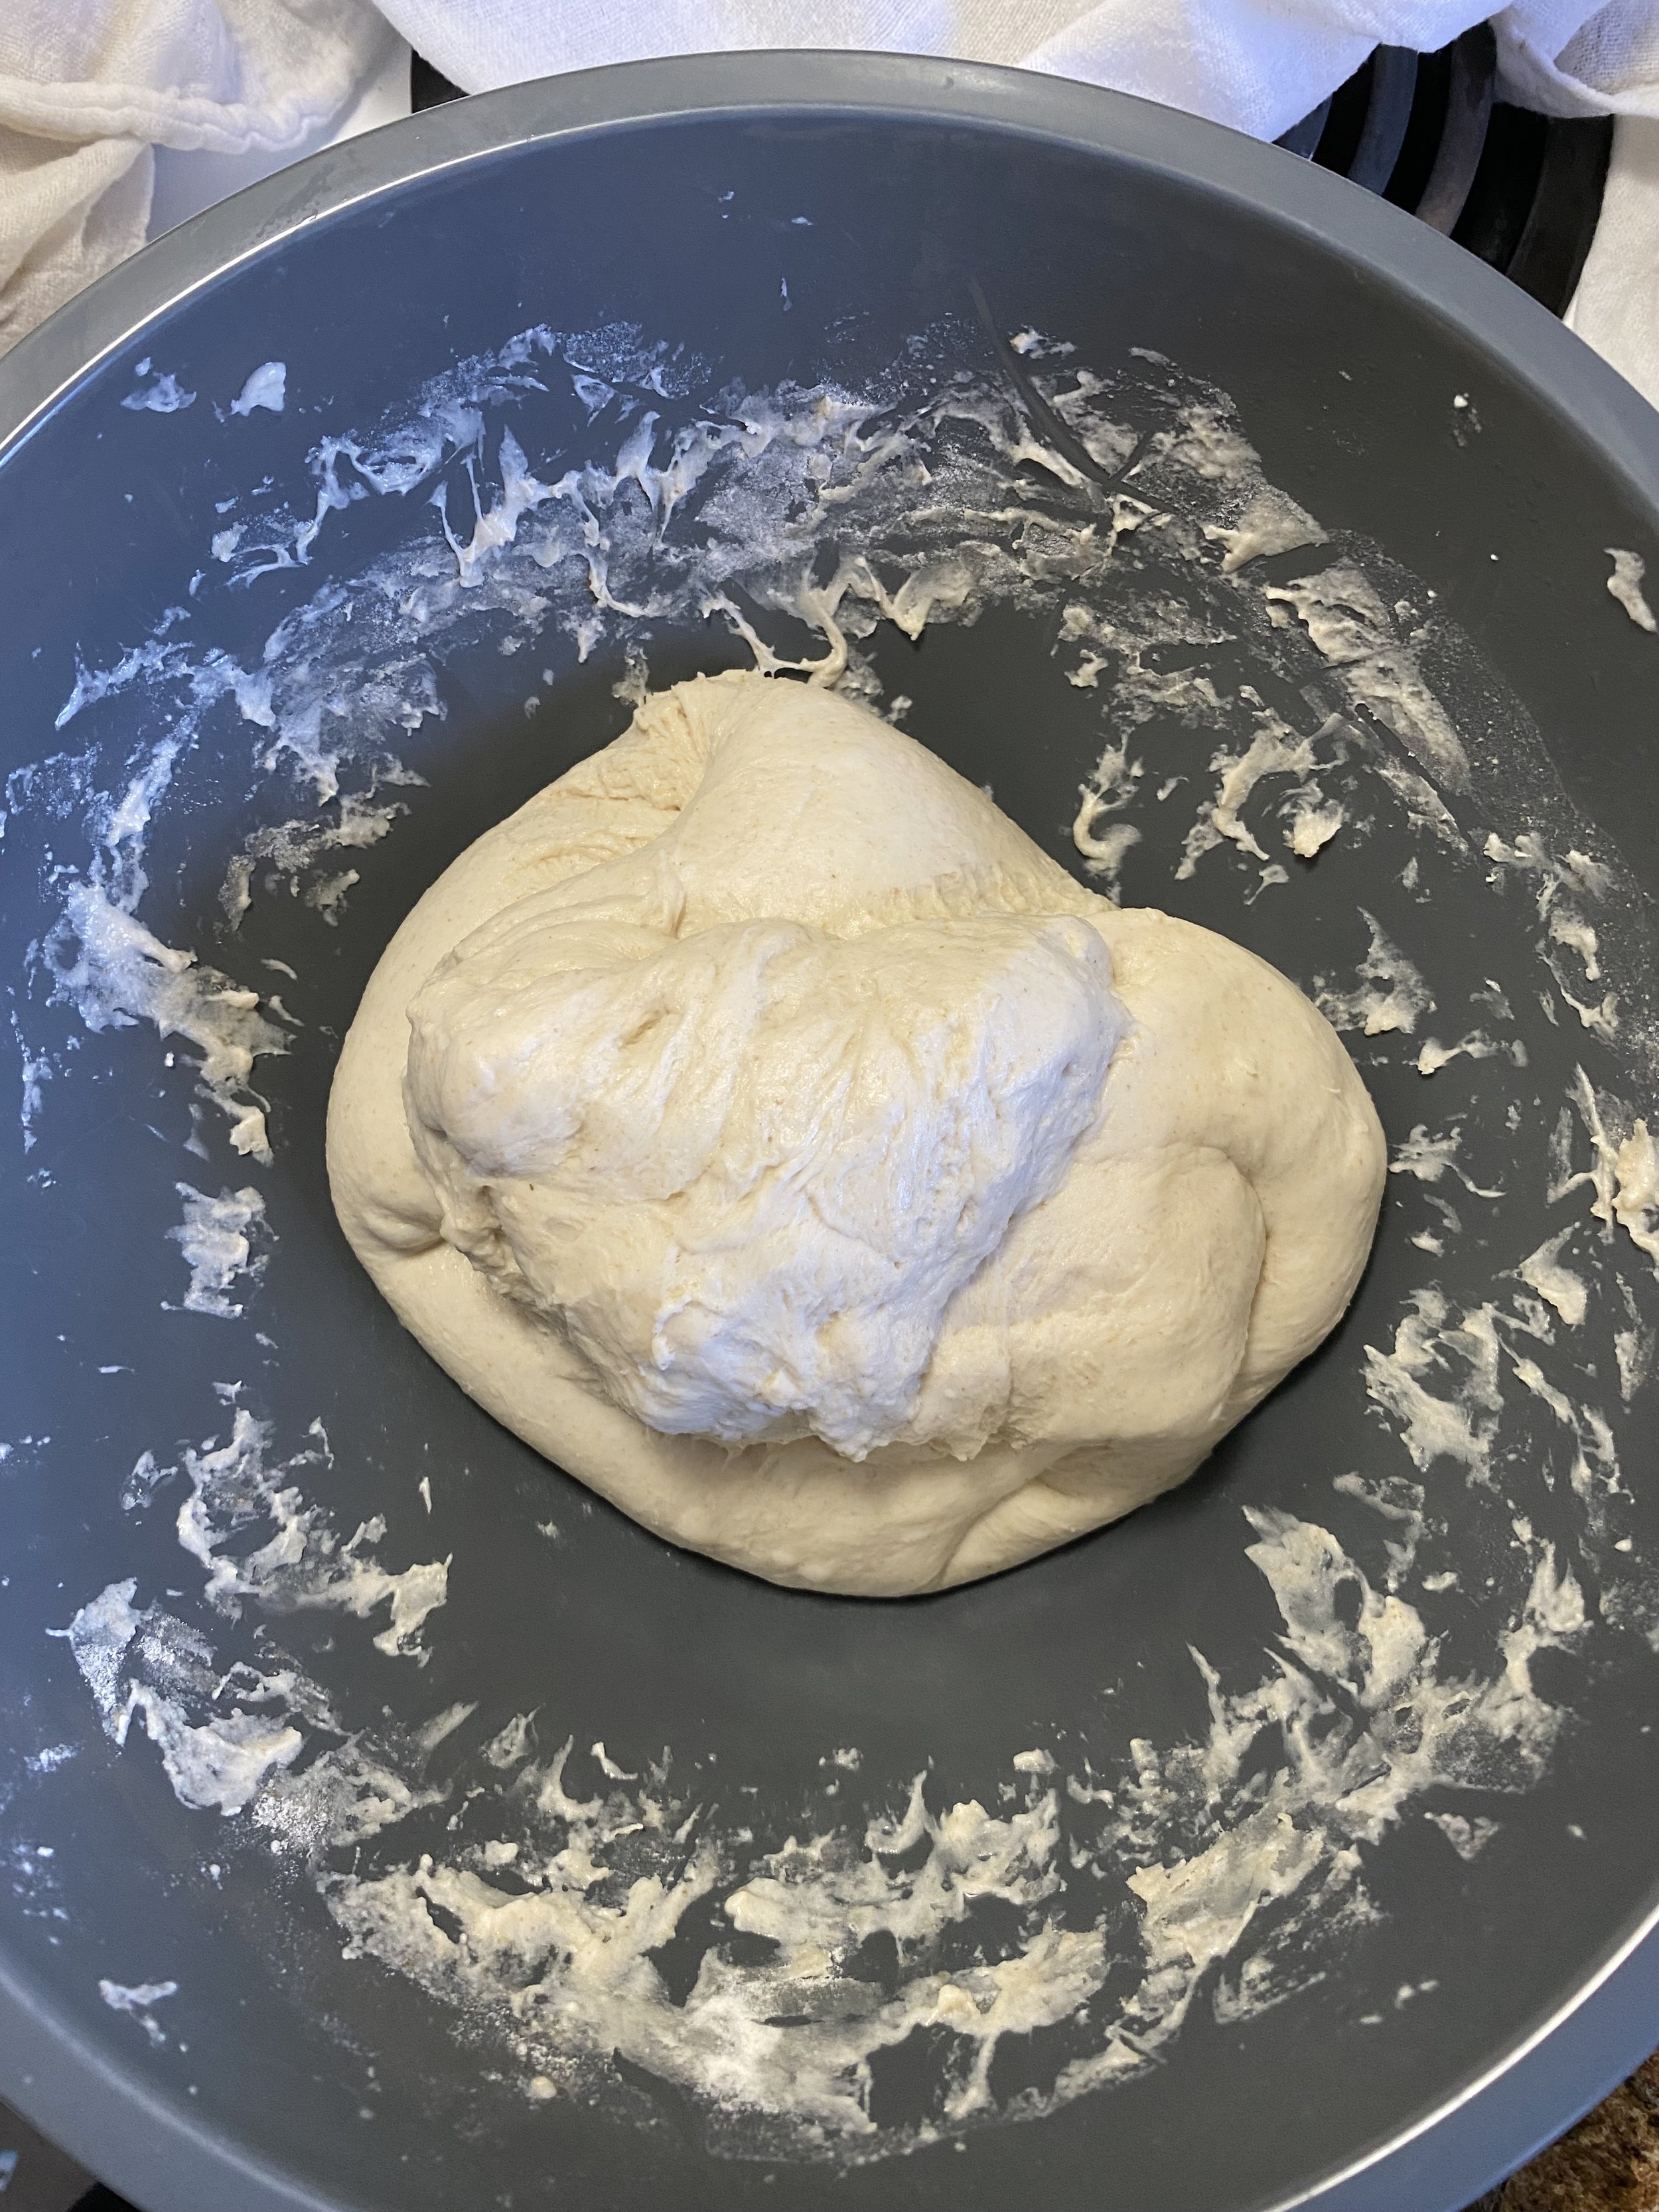
Make sure your starter is at its peak. Mix up your dough and wait an hour.
9:30 AM - Stretch-N-Fold #1
9:45 AM - Stretch-N-Fold #2
10:00 AM - Stretch-N-Fold #3
10:30 AM - Stretch-N-Fold #4
11:00 AM - Stretch-N-Fold #5
11:30 AM - Stretch-N-Fold #6
Let it sit and rise, check around hour 5 to see if it has started to double and if it feels ready. (Est. 4:30 pm). If it does not pass the "poke test", test it every hour until it is ready.
BETWEEN 7:30-9:30 PM
You should be ready to laminate it at this point and pop it into the fridge for 12-14 hours.
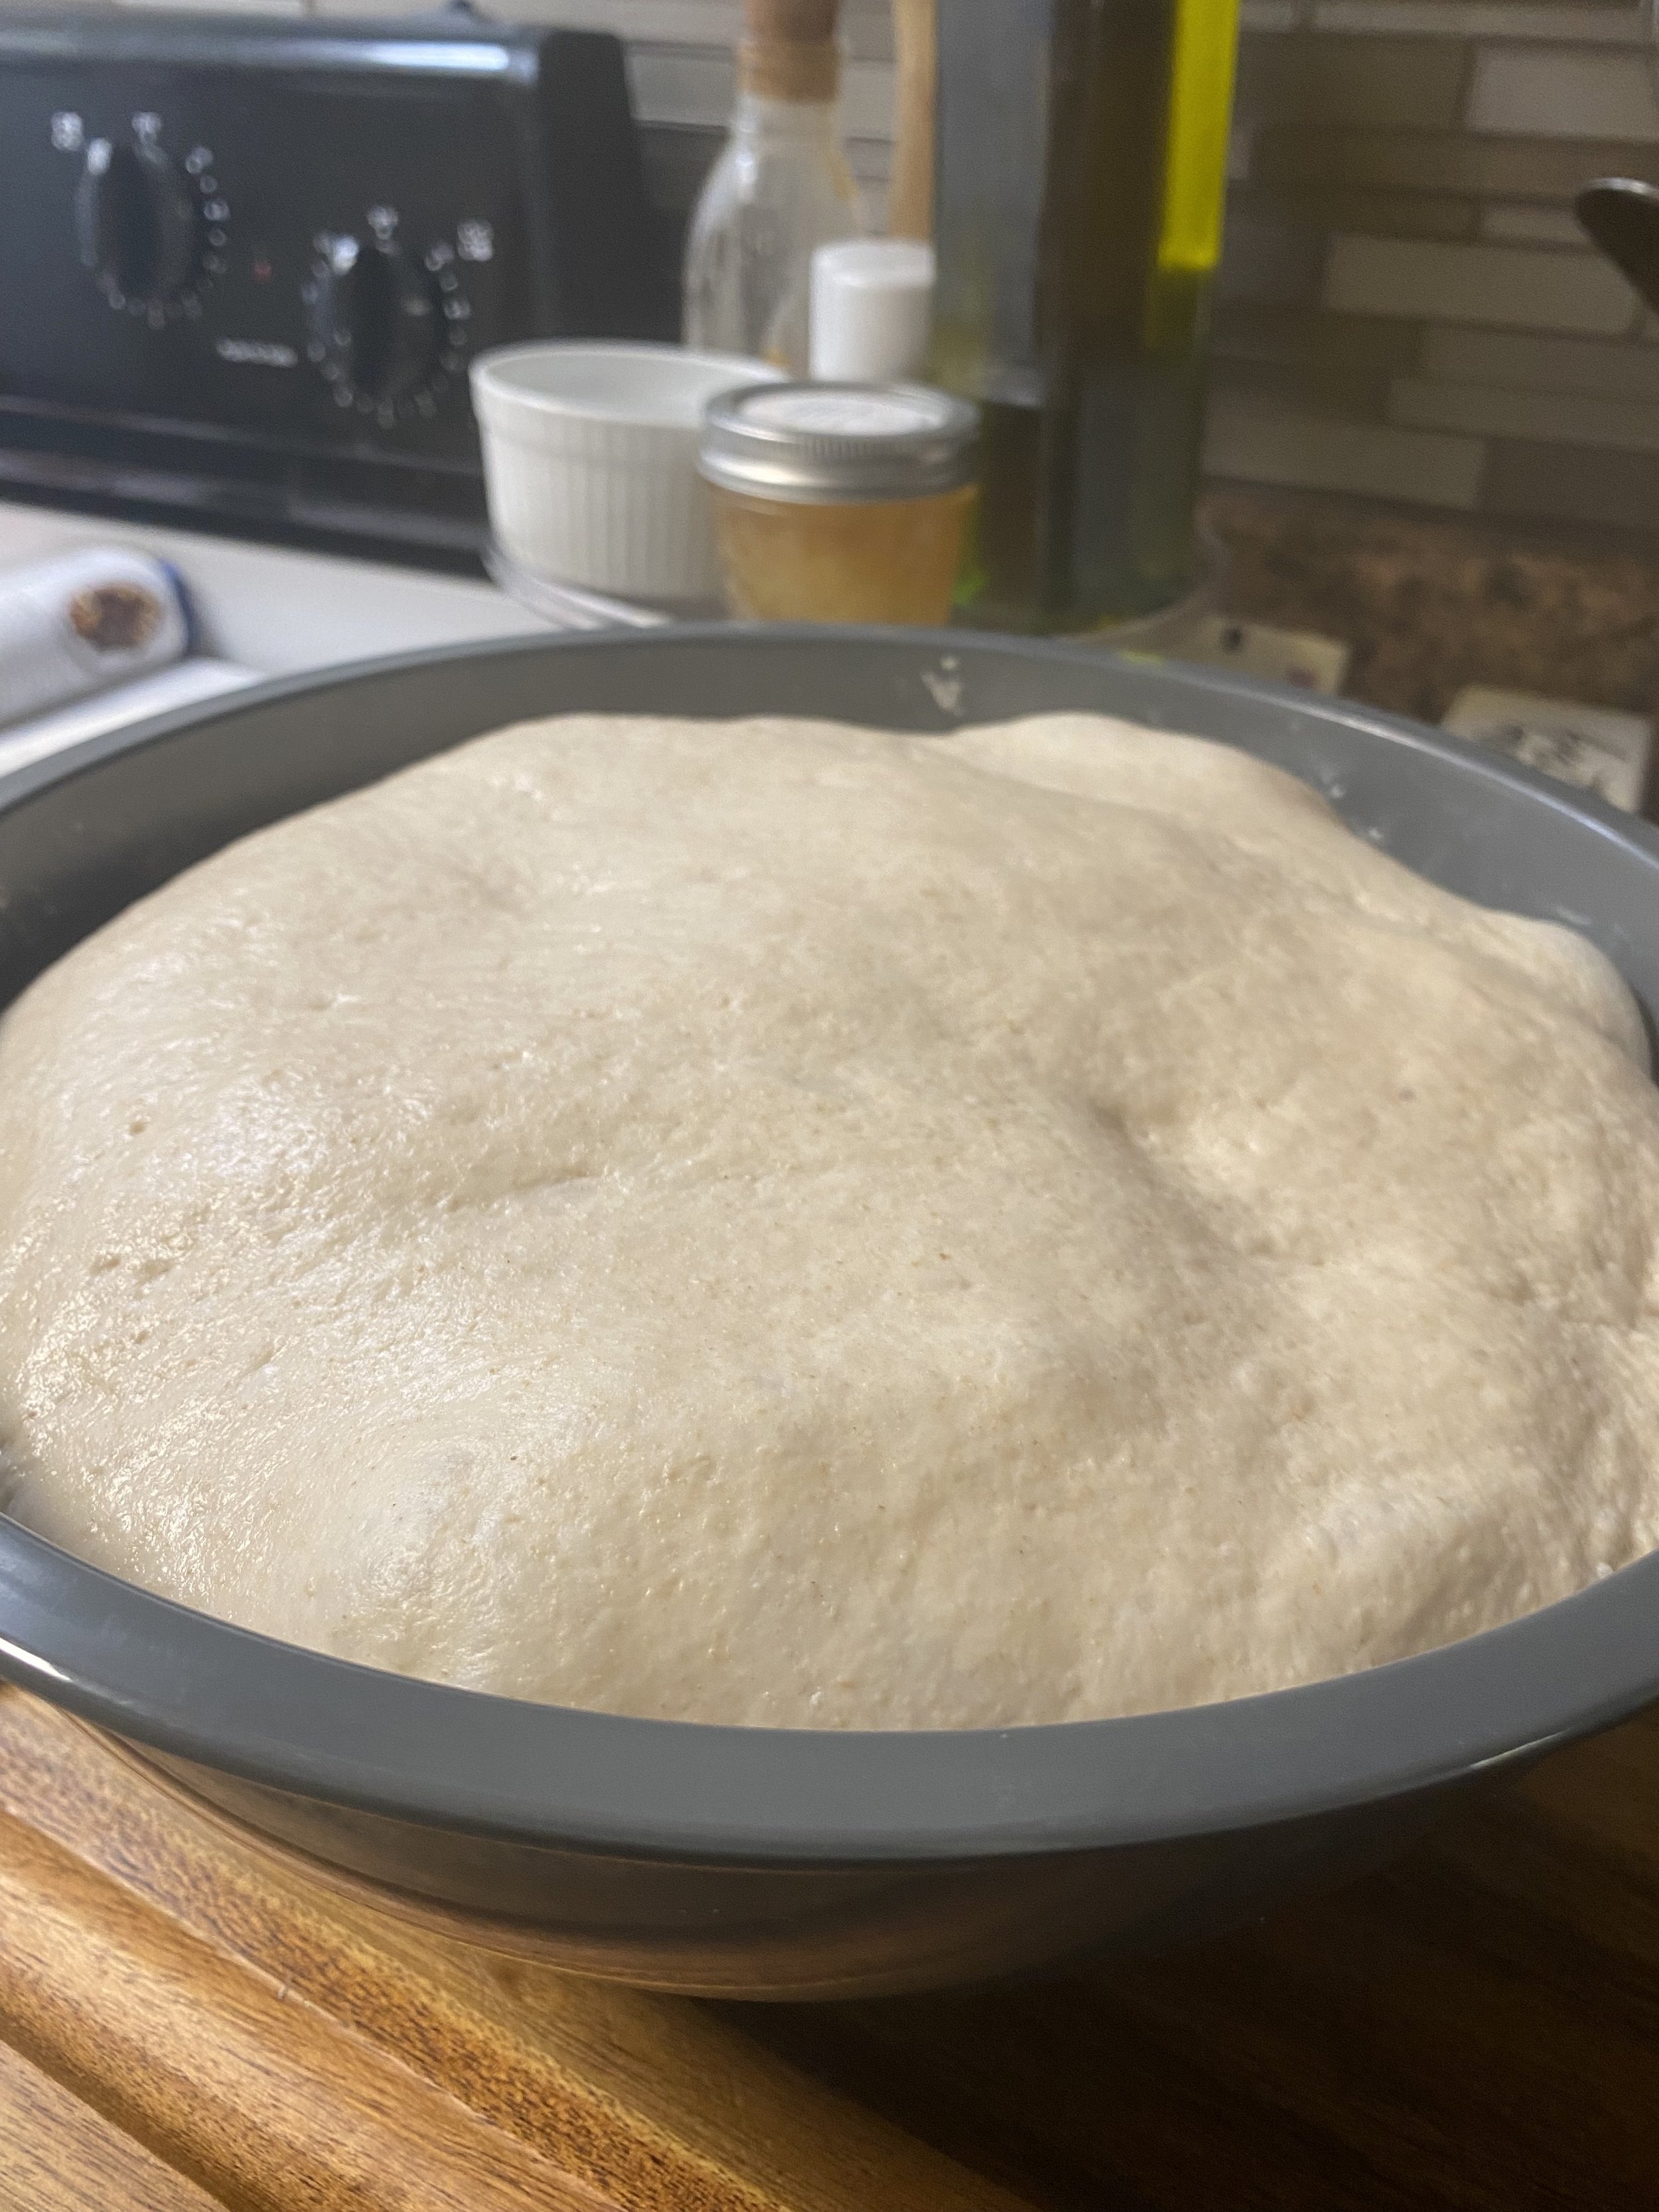
UPDATED NOTE: Sometimes if you just wait for it to visibly double, especially in a bowl where it’s hard to tell, you can overproof your dough. Read my free guide to learn about the Poke test and how you can use that to better tell when your dough is ready.
PICTURED: A single loaf proofing: in the morning after the final stretch-n-fold and after proofing for 8 hours, it’s fully doubled.
DAY #4 - WEDNESDAY
UPON WAKING TURN ON YOUR OVEN
Let it preheat for an hour before you want to bake
In this example, we'll say your bread was proofed and ready to be laminated at 8:30 pm. You'll have turned on your oven by 7:30 am and remember, you can always push back your timeline to meet the time you like to wake up by.
8:30 AM - Preheat your oven to 500° F
8:30 AM - Pull your bread out, score it and put it in the oven, turning it down first to 450° F. Bake for 20-25 min.
8:55 AM - Take the lid off and turn down the oven to 425° F. Bake for 15 min.
9:10 AM - Time to take your bread out.
11:00 AM - Your bread should be cooled and ready to be cut!
I wanted to show you a few examples of my early fails…


I KNOW that was a lot of information. But I promise, that is simplified compared to some of the stuff I foraged through on the internet. I really hope I could encourage you and help you to know that you can totally do this. It’s been really therapeutic for me and I truly enjoy baking bread for my family that I know is going to be nourishing. If you have any questions, you know where to find me, I’m always down to chat about bread!